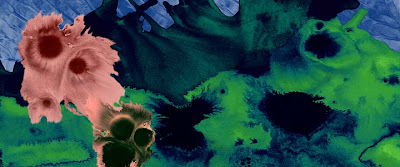
 Barring inspiration, here's the finished version. I wound up using the full range of my digital color techniques. Click for a larger image -- you know you want to.
I generated an initial palette in Illustrator, then brought it into Photoshop. I rendered the inkblots by using the Map to Gradient function, then messed around with the colors and values of each element using adjustment layers until I had something that pleased me.
Finally I went over the 'closer' elements, the faces and the front mountain, and added subtle highlights and shadows by using layers set to Multiply, which I blurred and rendered transparent until the marks I made didn't show as marks.
For the next one I'm going to try using more sophisticated gradients when I render the grayscale images in color. Should be interesting...

No comments:
Post a Comment